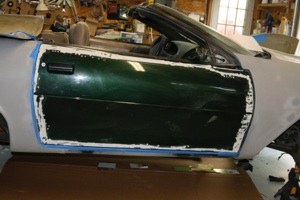
The door skins turned out to be the most difficult parts to fit properly since both the front and back edges need to blend nicely with the other body panels. The kit is designed so that the flanges around the panels gets cut back to the thickness of the door panel except in the areas where it is needed to fill the gap between door and panel.
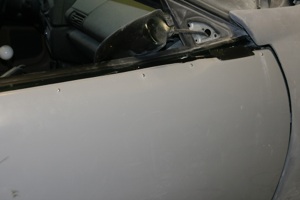
Again I decided I wanted a more finished door edge so ground off the rear edge of the Camaro door to allow room for the rear flange. I did grind away the front flange except where it was needed to fill the curve on the Camaro door. This was done slowly since this flange holds the panel up to blend with the front fender. Check the position of the door skin so it does not rub on the front fender when the door is opened. A small high spot was found on the inside of the front fender that had to be removed. Watch the door gaps front and rear to keep them even and not angled. Before gluing the skin on tape was applied to the Camaro’s door handles since they will not be used and might have rattled since nothing held them down after removing the rod and spring to install the shaved door handle kit.

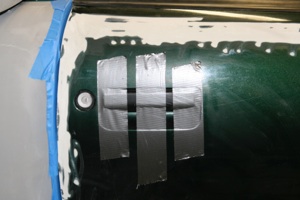
To provide a better gluing surface fiber reinforced filler was used to build up the curve at the front and rear of the doors. This has to be done in several step or the filler will simply drip off the door. The places the filler will touch the door panel including the flange was protected with tape.
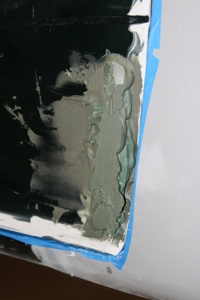
Tape was also applied around the door opening. Applying the filler is a challenge since there is nothing to scrape it against. After mixing the filler I placed it into one of the bags the adhesive tubes came in. Twisted the top closed the cut a bottom corner off. By squeezing the bag a bead of filler can be applied directly to the door. After each application the door skin was put in place to mold the filler and taped in place for a few minutes while the filler cured. After several applications a nice surface to glue to is formed. While waiting for the filler to cure on one door filler can be mixed and applied to the other. Between coats rough up the filler a bit so the next layer sticks well. When done sand the surface lightly so the adhesive can grab it.
Removed the tape from inside the fiberglass panels and wipe everything down with Lacquer thinner. Apply the adhesive to the inside of the fiberglass panel and outside of the door. Apply the panel to the door and temporarily attach with tape while self-drilling / self-tapping screws are used to clamp in place.
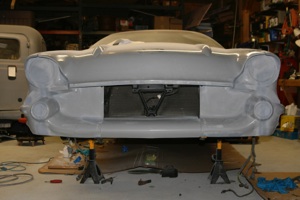
At this point only one major piece remained to be installed, the front bumper filler panel. A little bit of trimming of the front fenders was needed to allow the filler to seat in the proper place. Rough up the inside of the fender bumpers and mounting surface of the filler piece then apply adhesive and screw in place.
Next Page - Some Little Stuff